Kubernetes (K8s) is a powerful container orchestration tool that simplifies deploying, scaling, and managing containerized applications. At its core, Kubernetes operates using several building blocks, with Pods being one of the most fundamental and essential components. This article delves into what Kubernetes Pods are, their structure, and how they work, complete with examples to help you get started.
What Are Pods?
A Pod is the smallest deployable unit in Kubernetes. It represents a single instance of a running process in your cluster. Pods can contain one or more containers, such as Docker containers, that share the same network namespace and storage.
Key Characteristics of Pods:
- Co-located Containers: Containers within the same Pod are tightly coupled and share the same resources.
- Shared Network: Containers in a Pod share an IP address and port space, enabling seamless communication between containers.
- Shared Storage: Pods can define shared storage volumes that containers within the Pod can access.
What are the advantages of using a pod?
When a pod includes multiple containers, communication and data sharing between those containers become seamless. Since all containers within a pod share the same network namespace, they can easily discover and communicate with each other using localhost. For communication between pods, they can either use each other’s IP addresses or reference shared resources in other pods.
Pods can also contain initialization containers that run at startup, ensuring that required setup tasks are completed before the main application containers begin running. Furthermore, pods facilitate scalability by enabling the automatic creation or removal of replica pods based on fluctuating demand.
What’s the difference between single-container and multi-container Pods?
- Single-Container Pods
- Description: These pods contain only a single container, making them the simplest and most common type of pod.
- Use Case: Ideal for standalone applications or microservices where one container performs all necessary functions.
- Networking: Since there’s only one container, networking within the pod is straightforward, and it directly handles all external communication.
- Lifecycle: The lifecycle of the pod is directly tied to the lifecycle of the container.
- Multi-Container Pods
- Description: These pods include multiple containers that work together as a tightly coupled unit. All containers within the pod share the same network namespace, volume storage, and IP address.
- Use Case: Suitable for applications that require closely related services running side by side, such as a primary application container with a sidecar container for logging, monitoring, or proxying.
- Networking: Containers communicate internally via
localhost, simplifying data sharing and reducing network latency. - Lifecycle: All containers within the pod share the same lifecycle; if one container fails or the pod is terminated, all containers are affected.
| Aspect | Single-Container Pod | Multi-Container Pod |
|---|---|---|
| Number of Containers | 1 | 2 or more |
| Communication | No internal communication is needed | Internal communication via localhost |
| Use Cases | Simple applications or services | Complex applications with auxiliary containers |
| Example | A web server | A web server with a logging sidecar |
Multi-container pods enhance modularity and flexibility, while single-container pods offer simplicity and ease of management.
How to Deploy a Pod in Kubernetes
In this section, we walk through the process of creating and managing a pod within an existing Kubernetes cluster. Although this demonstration uses Docker Desktop, the steps remain largely the same for any production-ready Kubernetes cluster set up to work with the kubectl CLI tool.
Option 1: Using the kubectl run Command
Kubernetes enables you to launch containers via the CLI with custom arguments. The syntax for running a pod typically looks like:
kubectl run nginx --image nginxNow, verify the creation using the kubectl get command:
kubectl get pods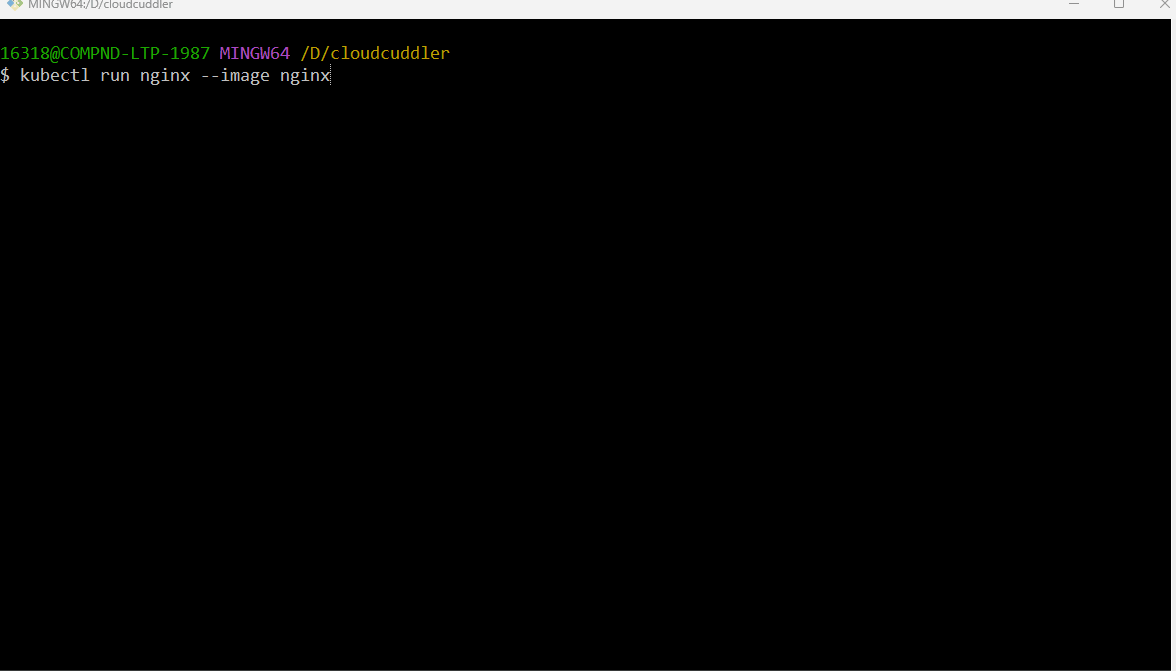
Option 2: Using a Pod Configuration
Here’s an example of a basic Pod configuration in YAML:
apiVersion: v1
kind: Pod
metadata:
  name: my-pod
  labels:
    app: my-app
spec:
  containers:
  - name: my-container
    image: nginx:latest
    ports:
    - containerPort: 80
Breakdown of the YAML:
| Parameter | Description |
|---|---|
| apiVersion | Specifies the Kubernetes API version (v1 in this case). |
| kind | Declares the object type (Pod). |
| metadata | Contains information like the Pod’s name and labels. |
| spec | Defines the desired state of the Pod, including its containers. |
| containers | Lists the containers within the Pod. Each container has a name, an image, and optionally exposed ports. |
Creating a Pod
To create the Pod defined above:
- Save the YAML file as
pod-definition.yaml
- Use the following command to apply it:
kubectl apply -f pod-definition.yaml- Verify the Pod’s status:
kubectl get pods
Multi-Container Pod Example
Here’s an example of a Pod with two containers:
apiVersion: v1
kind: Pod
metadata:
  name: multi-container-pod
spec:
  containers:
  - name: app-container
    image: nginx:latest
    ports:
    - containerPort: 80
  - name: sidecar-container
    image: busybox
    command: ["sh", "-c", "while true; do echo Hello from Sidecar; sleep 10; done"]
Explanation:
sidecar-container: Runs a BusyBox container that outputs a message every 10 seconds.
app-container: Runs an Nginx server.
Such configurations are useful for scenarios like logging, data aggregation, or configuration updates.
Interacting with Pods
Inspecting a Pod: Use the following command to view detailed information about a Pod
kubectl describe pod <pod-name>Accessing a Pod’s Logs: To view logs of a specific container in a Pod
kubectl logs <pod-name> -c <container-name>Accessing a Pod’s Shell: For interactive debugging
kubectl exec -it <pod-name> -- /bin/shBest Practices for Working with Pods
- Use Deployments for Scaling: Instead of creating individual Pods, use Kubernetes Deployments to replicate and manage Pods.
- Design for Ephemeral Pods: Pods are transient and can be terminated or rescheduled at any time. Ensure your application handles restarts gracefully.
- Avoid Large Multi-Container Pods: Keep Pods small to ensure they are easier to debug and manage.
Kubernetes Pods are the cornerstone of application deployment in Kubernetes. Whether running a single container or multiple tightly coupled containers, understanding Pods is key to mastering Kubernetes. By leveraging Pods effectively, you can deploy resilient, scalable, and manageable applications in your cluster.