Ever been to an all-you-can-eat buffet and realized halfway through that your plate wasn’t big enough for all that sushi? That’s sort of what happens when you mess up Kubernetes resource requests and limits.
In this article, we’ll walk through what Kubernetes “requests” and “limits” really mean, how they affect your applications, and how to avoid the oh-so-common production pitfalls
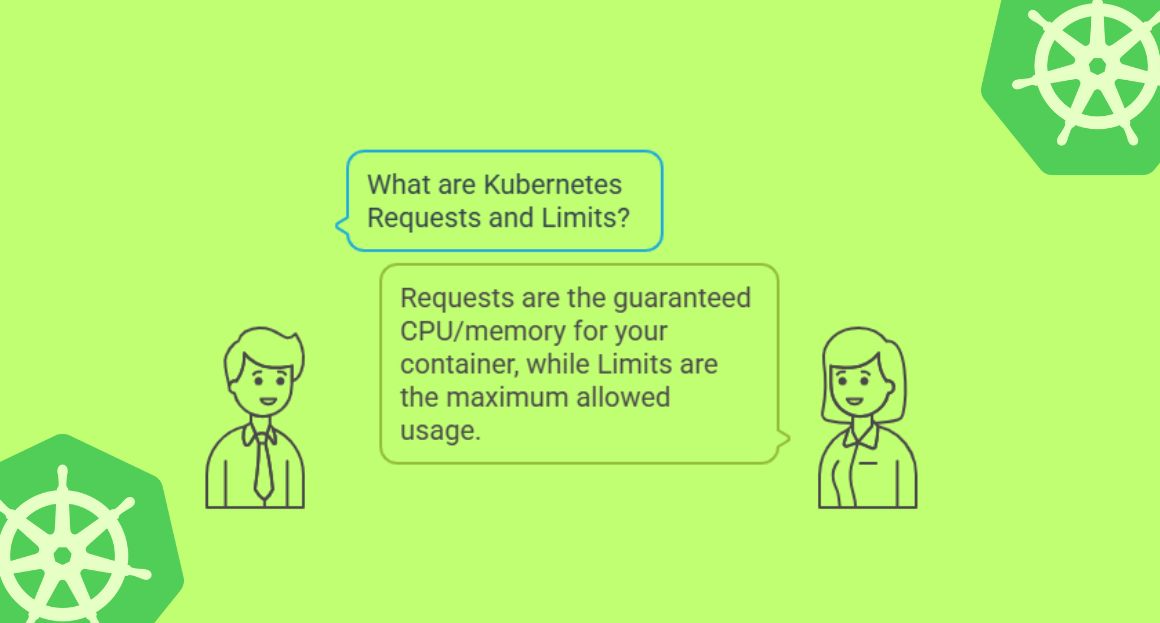
What Are Kubernetes Requests and Limits?
In Kubernetes, each container in a Pod can specify two types of resource constraints:
- Request: The amount of CPU/memory Kubernetes guarantees for your container.
- Limit: The maximum amount of CPU/memory your container is allowed to use.
Quick Analogy:
Imagine you’re booking a table at a restaurant.
- The request is like telling the host: “I need a table for 2 people.”
- The limit is like the restaurant saying: “Cool, but we won’t seat more than 4 people at your table.”
If you suddenly show up with 6 friends, you’re out of luck. The same applies to containers – they can only scale to what has been allocated within their limit.
Real Example: A Container Spec
resources:
  requests:
    memory: "512Mi"
    cpu: "500m"
  limits:
    memory: "1Gi"
    cpu: "1"
Breakdown:
- Request: This Pod gets at least 512Mi of memory and 0.5 CPU cores.
- Limit: It can utilize up to 1 GiB of memory and 1 full CPU core, if available.
If the container tries to use more than 1Gi of memory? It’ll be OOMKilled (Out Of Memory). Too much CPU? It gets throttled.
Real-World Scenario: The “Spiky” Service
Let’s say you’re running an image-processing microservice that usually just waits around but occasionally goes turbo when processing uploads.
What you might set:
requests:
  cpu: "100m"
  memory: "256Mi"
limits:
  cpu: "1"
  memory: "512Mi"
Why this works:
- Most of the time, the service is idle and doesn’t waste resources.
- When it gets a burst of activity, Kubernetes allows it to spike up to 1 CPU core.
But here’s the catch…
If you don’t set a limit, it can hog resources and cause your other apps to slow down. If you set too low a limit, it’ll get throttled and your users will notice the lag.
Real-World Disaster: The OOMKill Mystery
A team once deployed a Node.js app without setting memory limits. It ran fine in dev.
One day, in production, the memory usage suddenly ballooned due to a poorly written image conversion function. Since there was no limit, it ate up all available memory on the node and took down unrelated Pods — including the payment gateway.
Moral of the story: Memory limits = firewalls for bad code.
CPU Requests vs Limits: The Hidden Throttle
Here’s something people often miss:
- CPU requests are used by the Kubernetes scheduler to decide where to place the Pod.
- CPU limits affect runtime behavior.
If your container hits its CPU limit, it doesn’t crash — it gets throttled. That’s fine if it’s batch processing, but for latency-sensitive apps? Users will feel the lag.
Best Practices (That’ll Save You Headaches)
- Always set both requests and limits – but don’t make them equal by default.
- Profile your app – use tools like Prometheus and Grafana to observe real usage.
- Avoid setting CPU limits unless necessary – especially for compute-heavy apps where throttling would hurt more than help.
- Use vertical pod autoscaling (VPA) – let Kubernetes recommend better values over time.
- Use ResourceQuotas and LimitRanges – especially in multi-team clusters, to prevent noisy neighbors.
Final Thought: It’s Not Just About the App
Resource requests and limits are like the plumbing of your infrastructure. They may seem boring, but when they break or are misconfigured, the whole building feels it.
Setting them right is a mix of art, science, and experience — like cooking with just the right amount of spice.
TL;DR
| Term | What it Means | Impact |
|---|---|---|
| Request | Minimum guaranteed CPU/memory | Scheduler uses it to place Pod |
| Limit | Max CPU/memory allowed | Throttling or OOMKill if exceeded |